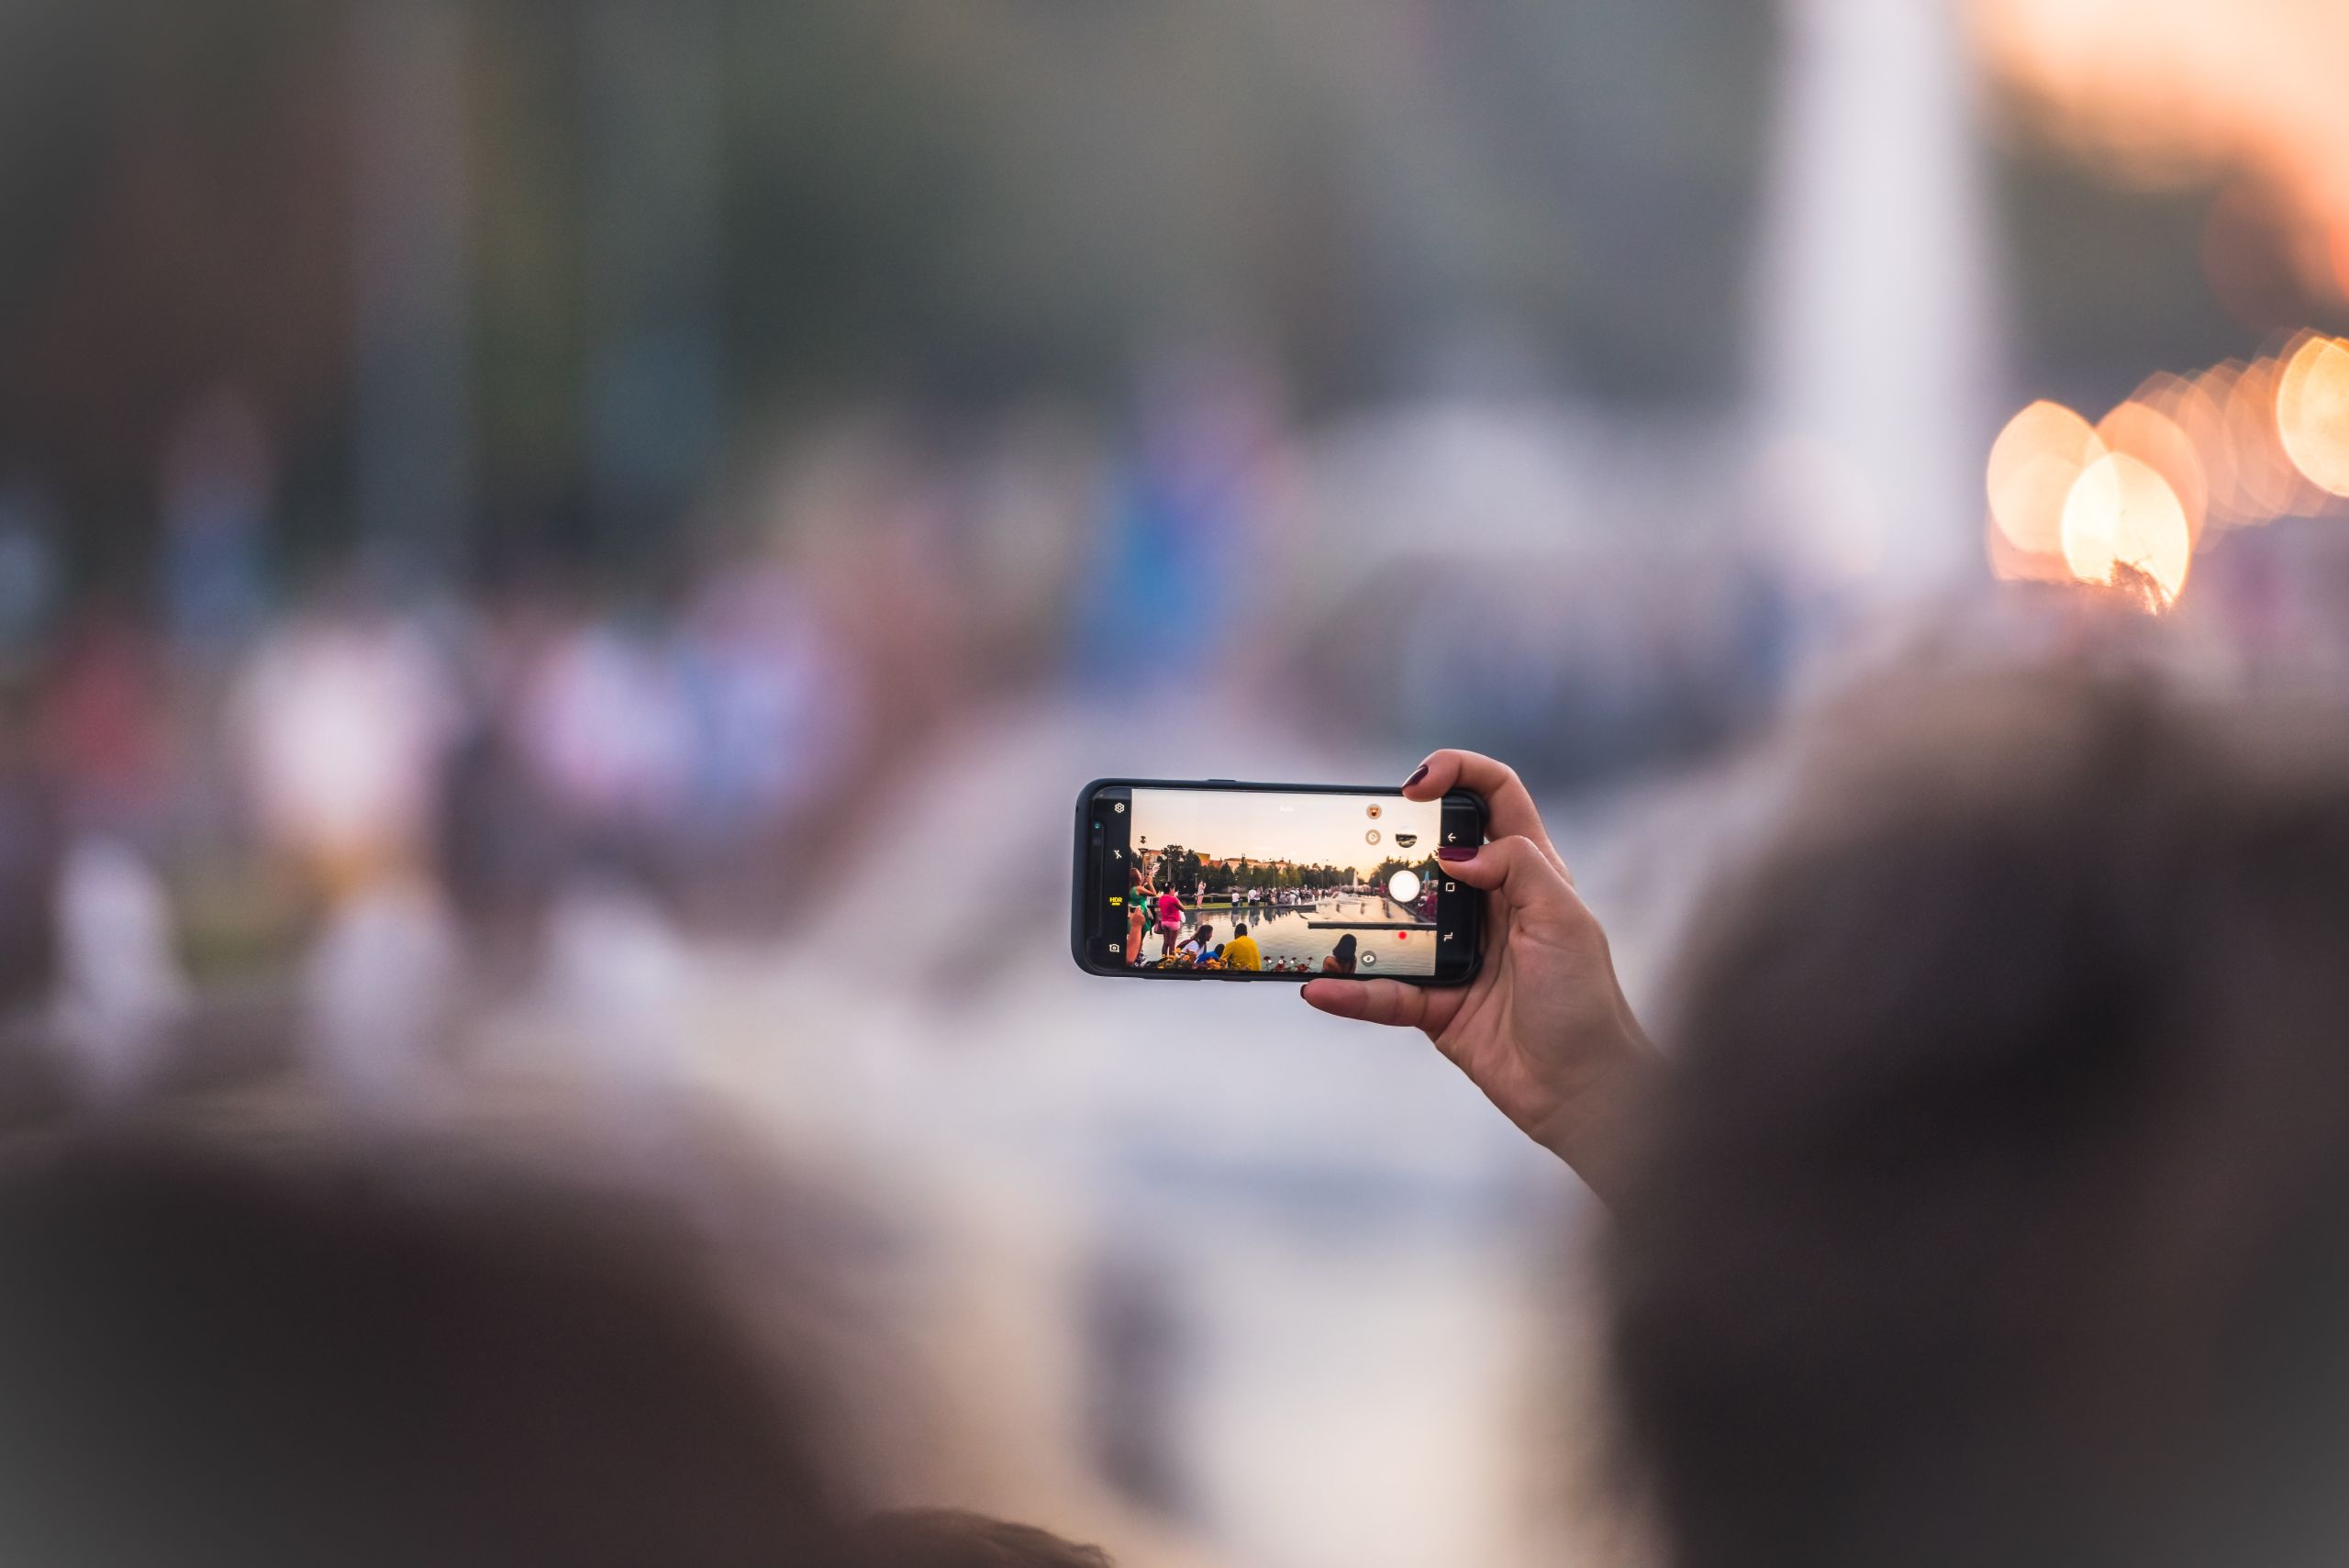
Studio In Your Pocket

Introduction
In this guide we will go over the fundamentals of smartphone film-making, so that when it comes to filming your project you are able to focus on the structure and telling of your story.
The intimacy and rapport you develop with your subject is more important at this point than mastering technical craft. Consider shooting your first video with a smartphone or an easy-to-use consumer camcorder to keep things simple. If you already own a video camera that is capable of shooting high definition video, use that. When you’re starting out, the best camera is the one you have.
In the past five years smartphones have increased their camera hardware and image processing capabilities, which means we now have the ability to record high definition video without having to splash out on professional equipment. However before you begin to film your project, lets run through the basics.

Filming
Landscape or Portrait?
So you are ready to film, but you can't figure out what way to hold your phone, portrait (upright) or landscape (sideways)? We advise you film the entirety of your project in a landscape format, as this will allow you to fit more in the shot and also this is the way we normally view video on a television or computer monitor.
If you were to film in both landscape & portrait, your editing software would adjust your portrait files to fit to landscape view. Your portrait video can then look flat, stretched, pixelated and may even show two black bars on either side (to make up for the lost width) like the example below:

Shot on IPhone*
Shot on IPhone*
Stabilisation
Although some of the latest smartphones are equipped with with Optical Image Stabilsation, you may find that your video beings to look a little shaky, especially if you are filming for an extended period of time.
If you are in a setting that requires a static (or still) shot, simply tuck your elbows into your side as you hold your phone out in front of you. Use two hands. You could also place your phone up against something for support, a clean window or piece of glass is handy, you may have to get creative! A heavy object on a flat surface also works well to lean your phone against.
Alternatively, you can buy (or DIY) a Smartphone Tri-pod:
Framing
Your phone is compact and lightweight which gives you a lot of flexibility, so when it comes to filming your project look for interesting angles and consider what is in the background. If you are shooting dialogue (people talking), a close up shot would be better suited than a wide shot, you want to be focusing on the subject. When it comes to filming think about what you are trying to communicate and focus solely on that.
For more information on framing, watch this video:
How to Film a Dialogue Scene: Angles, Framing & Rule of Thirds | 7:14
Sound and Audio
While you want your video to look good, the quality of your audio is equally as important. Although you will be able to add audio in the editing phase (music, voice dubbing), if you are wanting to capture live sound there are a few things you should note:
Wind - It is very common to catch wind and unnecessary environmental noise that will compete with or drown out any important audio while shooting video outside. This is almost impossible to edit out later, so if you do need to film outside, try filming in an area with wind break, alternatively face your back to the wind so that it is does not directly hit your smartphone
Interviews/speaking- Microphones in smartphones (especially later models) have inbuilt microphones that are great for capturing sound. The closer you get the microphone to the subject’s mouth, the clearer the sound: less background noise, less echos from nearby surfaces (bare walls, ceilings and floors).
Monitor your sound - There are a variety of other audio issues that could arise, such as fingers, hair or clothing that partially cover the microphone. Just be mindful & be aware of your surroundings, however as mentioned earlier, you can add audio in the editing phase down the track.

Publishing your Video
Well the hard part is done, you've filmed your video - even added a few titles and some music, and now you're ready to share it online - but what steps are next and how do you actually send that file around?
Video Hosting
There are many platforms that can host videos, but by far YouTube is one of the best choices - it's free, it's unlimited and it's reliable. There are ofcourse other paid options such as Vimeo or Daily Motion, but this guide will look at how to upload and publish your content to YouTube.
The video below will show you through the steps of creating an account from scratch - as well as uploading and sharing your content.
Activities
The activities below are aimed at helping you determine where to film, and the complications that can arise in each location. Eventually you will be able to walk into a room and very quickly decide on where to film and what your shot will be composed of.
Review the environments below, each of the hot spots will reveal a potential shot location and a brief video will outline the factors to consider when shooting in those locations.
